
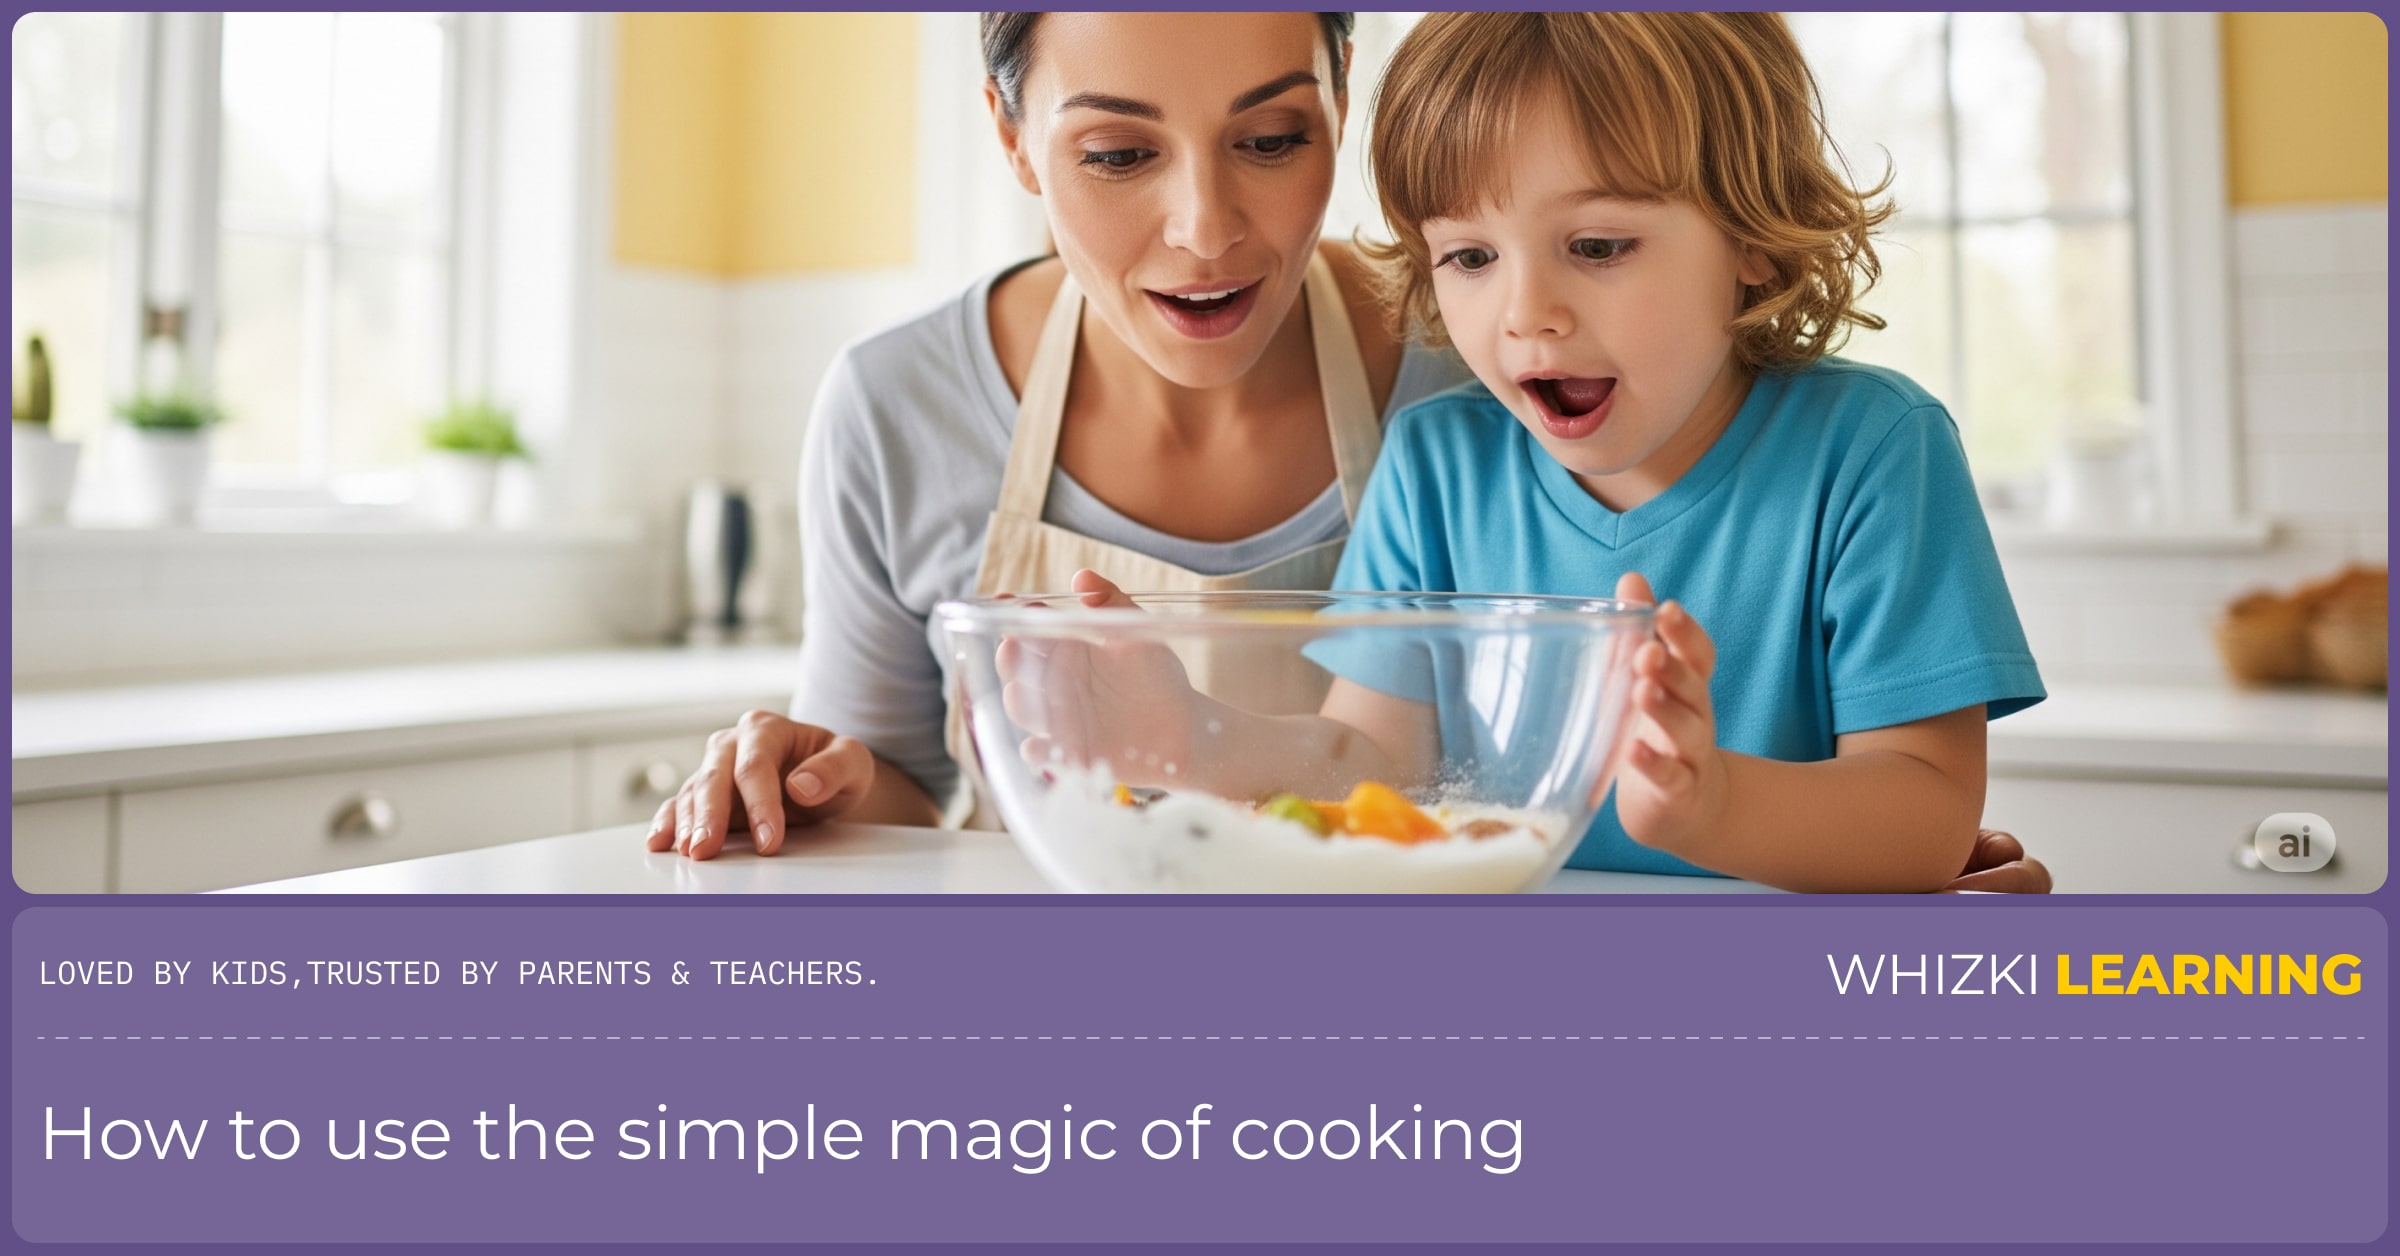
It’s Tuesday afternoon, and lunch is happening whether you feel ready or not. The kids are underfoot, you’re juggling ingredients and timing, and there’s that nagging pressure to make everything feel “educational.” You might even spot an online “simple STEM activity,” and then realize it needs extra supplies, extra prep, and extra patience. So, yeah, it’s tempting to reach for a screen for a few minutes of quiet.
But here’s the good news, your kitchen already has what you need. While you’re chopping carrots and boiling water, your child can be right in the middle of real science learning. And the best STEM “kit” you own might be… the lunch you’re already making.
The most important thing we can give our children is a passion for inquiry. The kitchen, with its endless transformations, is a playground for that passion.- Dr. Alistair Finch, Early Childhood Science Educator
This guide is about reframing. It’s about noticing the science that’s already happening all around you. You don’t have to build a baking soda volcano, unless you want to. Instead, you’ll use everyday cooking moments to introduce core ideas from physics, chemistry, and biology. Let’s trade the parental pressure for playful curiosity.
A How-To Guide: 5 Kitchen Lab 'Experiments'
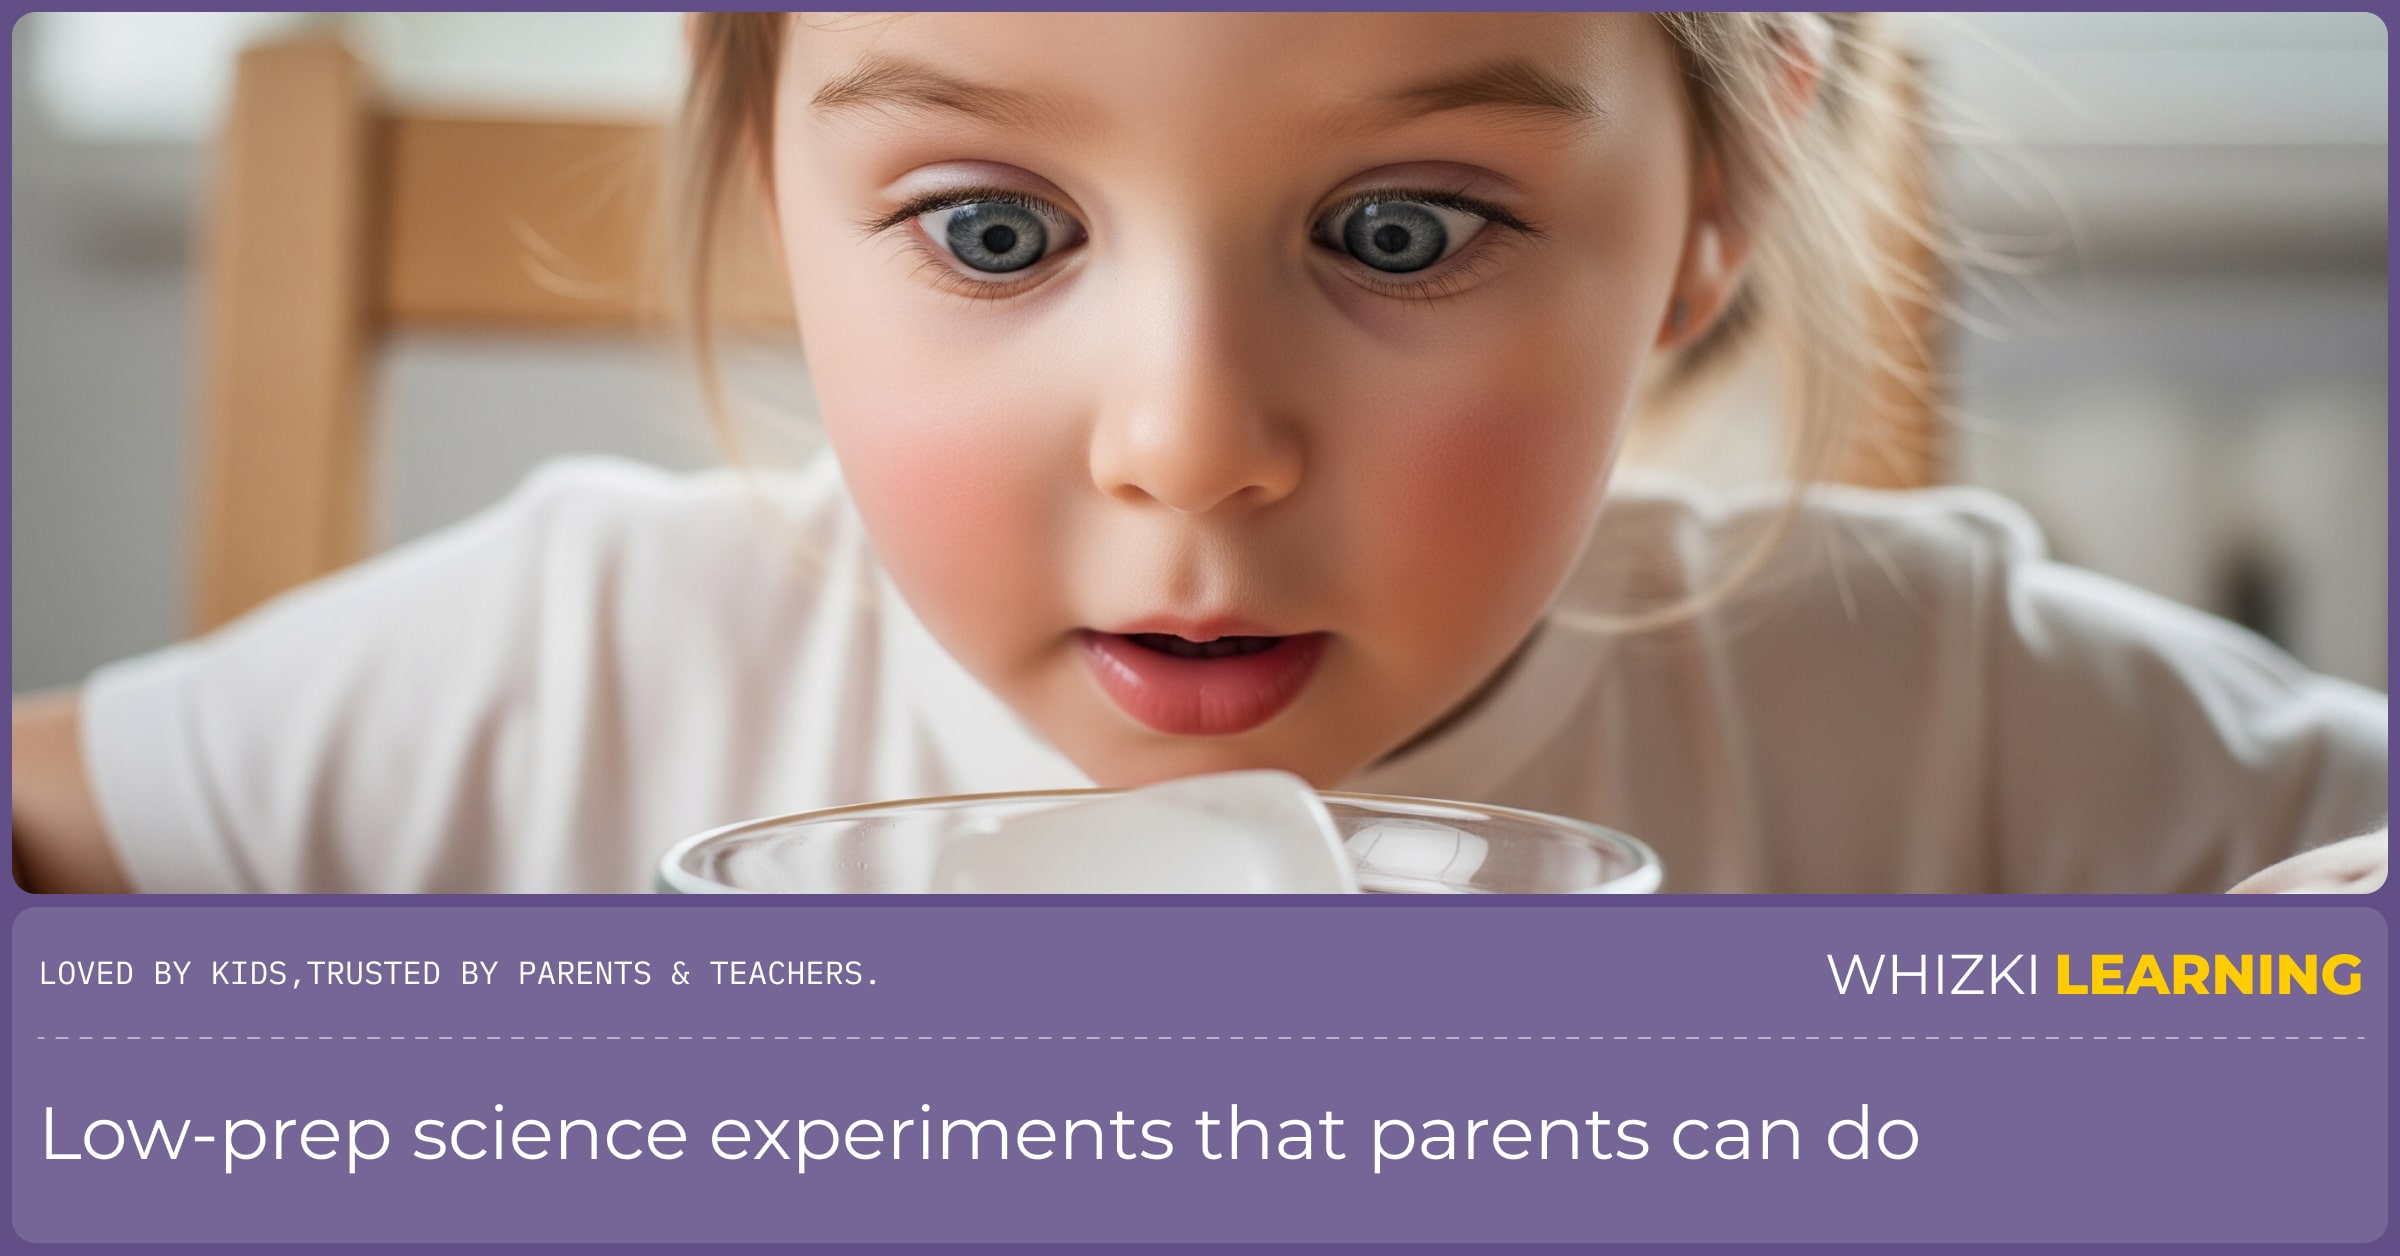
Five easy, low-prep science experiments that parents can do with young children using common kitchen ingredients to teach foundational scientific concepts.
1. The Magic of Melting & Freezing (States of Matter)
This is the simplest and most profound experiment of all. It’s hands-on physics you can do in the middle of dinner prep.
The Setup: While you’re cooking, give your child a bowl with a few ice cubes. Or, let them watch you put a pat of butter in a warm pan.
The Scientific Language: Use the vocabulary of a scientist, right in your kitchen.
- Observe: 'What does the ice feel like right now? Is it hard or soft? Cold or warm? We can call this a solid.'
- Predict: 'I’m putting the butter in this warm pan. What do you predict will happen to it?'
- Describe: 'Look at that! It’s turning into a puddle. It’s becoming a liquid. We just saw matter change its state!'
2. The Disappearing Act (Dissolving)
This is a foundational chemistry experiment that shows up every time you make lemonade or stir sugar into coffee.
The Setup: Give your child a clear glass of water and a small spoonful of salt or sugar.
The Scientific Language:
- Observe: 'Let’s look closely at the salt. What does it look like? Let’s pour it into the water.'
- Experiment: 'What’s happening? It looks like it’s disappearing! Let’s stir it. When something seems to vanish in water like this, it’s called dissolving.'
- Conclude: 'Can you still see the salt? No, but can you taste it? (Let them dab a finger). Yes. It’s still there, just broken into tiny pieces we can’t see.'
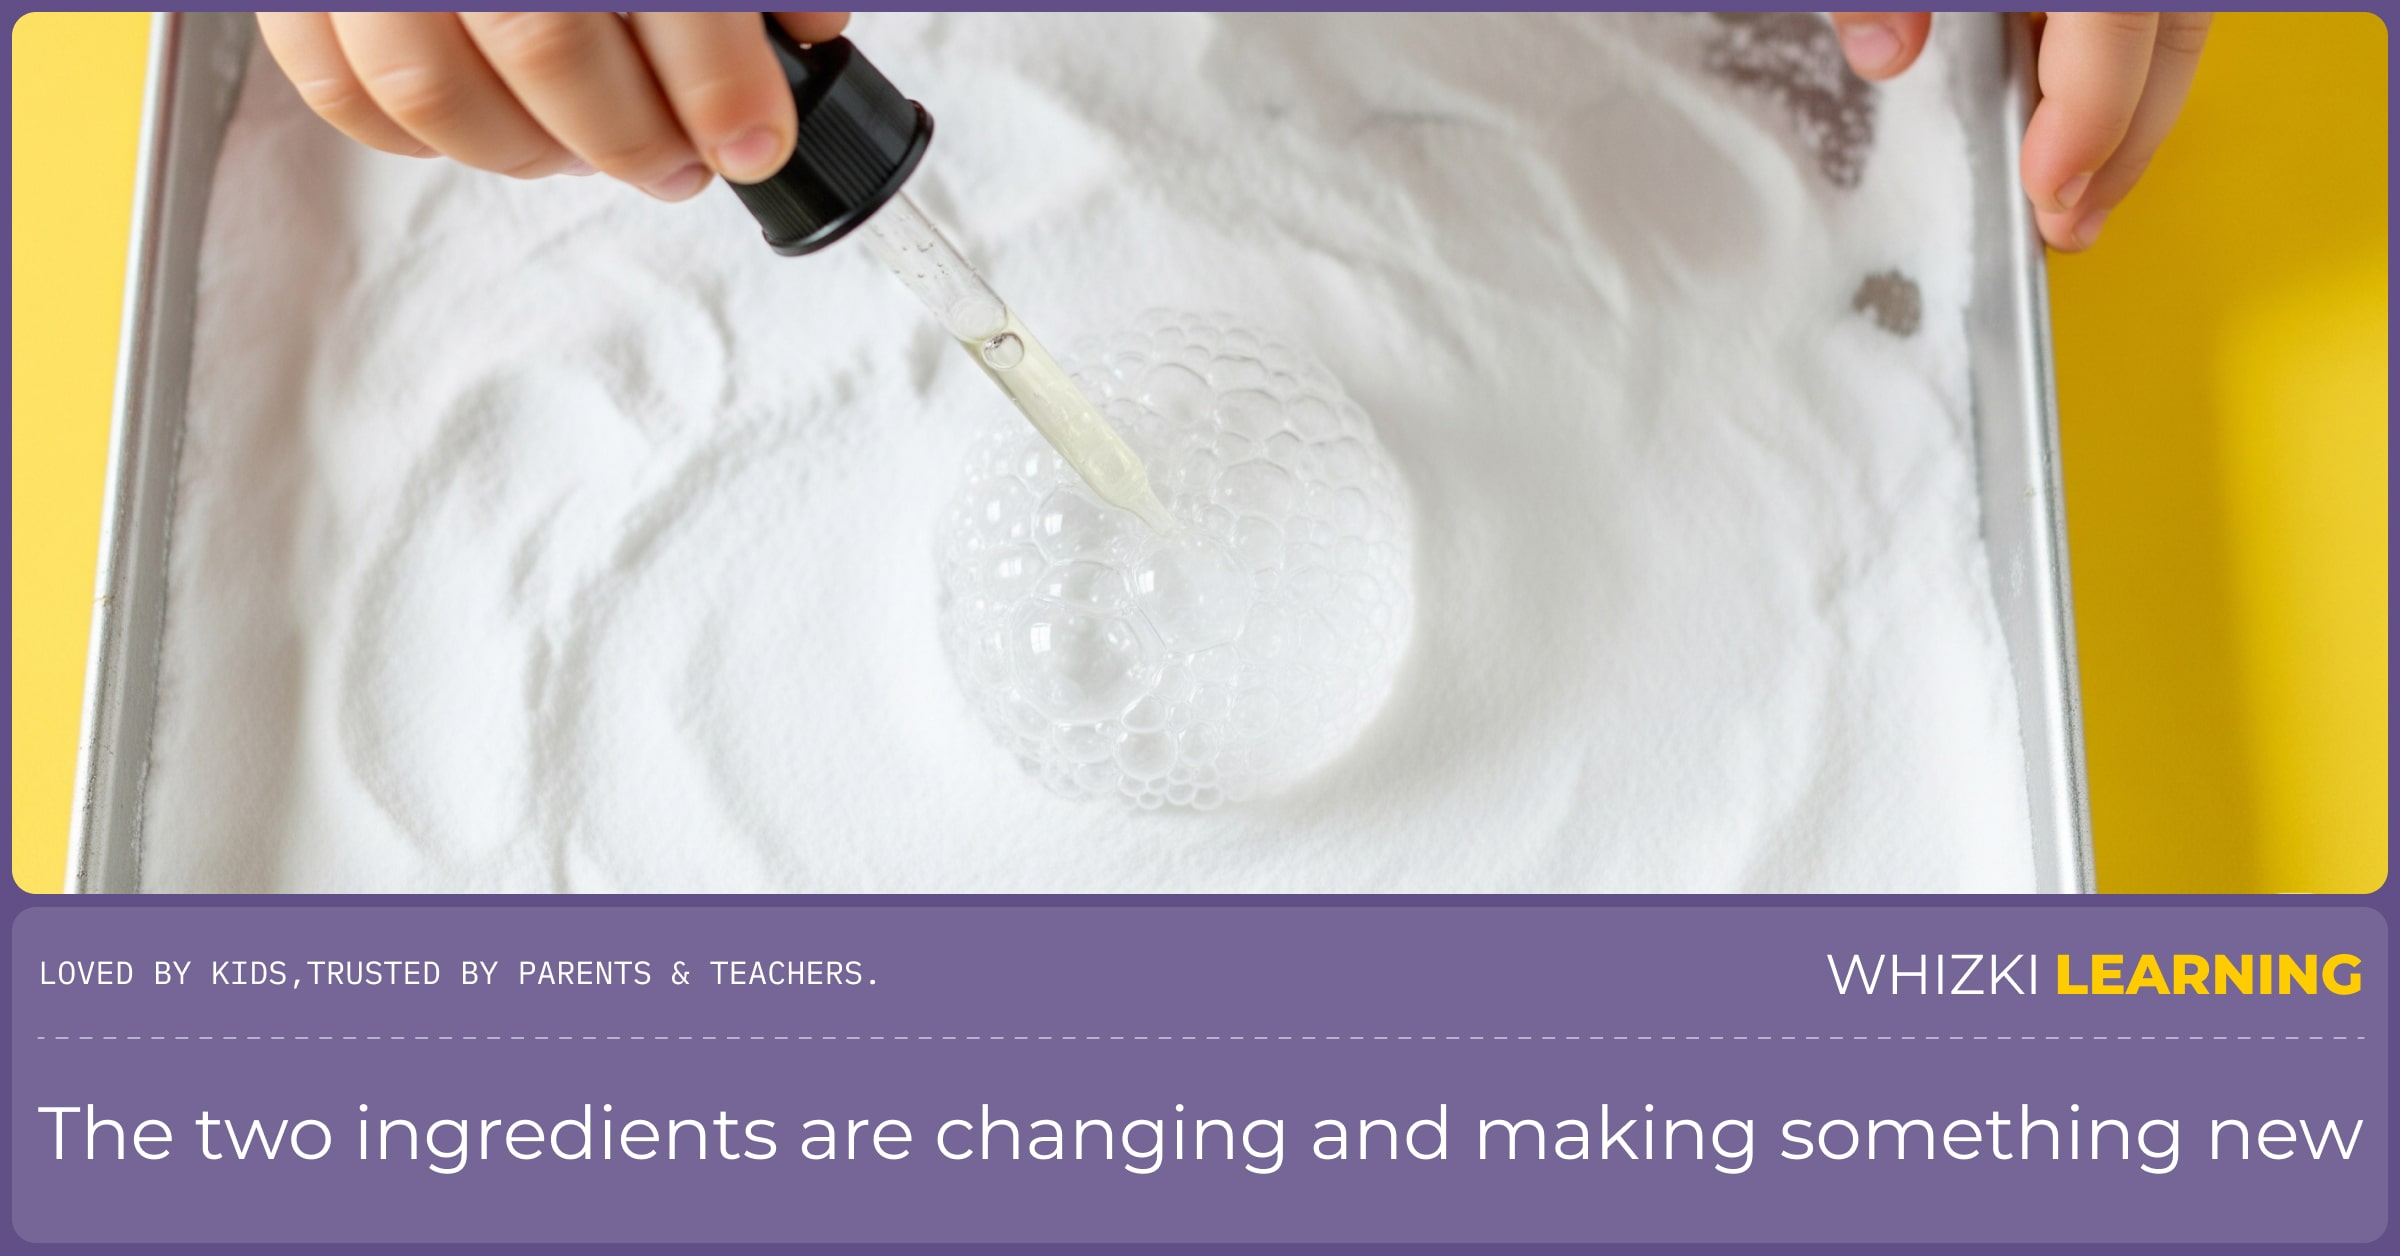
3. The Great Fizz-Buzz (Chemical Reactions)
This is the classic, safe, and thrilling introduction to chemical reactions. It’s what makes pancakes and muffins fluffy.
The Setup: In a baking tray (to contain the mess), put a few spoonfuls of baking soda. Give your child a small cup of a safe acid, like lemon juice or vinegar, and a dropper or a small spoon.
The Scientific Language:
- Predict: 'This is baking soda, and this is lemon juice. They are very different. What do you hypothesize will happen when we mix them?'
- Observe: 'Let’s add a few drops. Whoa! Look at all those bubbles. This is a chemical reaction. The two ingredients are changing and making something new, a gas called carbon dioxide!'
4. The Color Voyage (Biology & Absorption)
This is a beautiful, slow experiment that teaches a core biology idea, how plants “drink” water.
The Setup: Place a stalk of celery or a white carnation in a jar of water with a few drops of dark food coloring (blue or red works best). Put it on a sunny windowsill.
The Scientific Language:
- Predict: 'We’ve put this celery in blue water. What is your hypothesis? What do you think might happen to the leaves by tomorrow?'
- Observe: 'Let’s check on our experiment each day. Do you notice anything happening? The color is traveling up the stalk. This process is called absorption. The celery is “drinking” the blue water all the way to its leaves.'
5. The Sink or Float Fleet (Physics & Density)
Washing vegetables for dinner? You’ve got a physics lab right in your sink.
The Setup: Fill the sink or a large bowl with water. Gather a collection of fruits and veggies: a carrot, a lemon, a lime, a piece of broccoli, an apple.
The Scientific Language:
- Predict: 'This is our science boatyard. For each vegetable, I want you to make a prediction. Will it sink or will it float?'
- Test & Record: 'Let’s test the lemon. You predicted it would sink, but it floats. How interesting. The apple floats too. The carrot sinks. Let’s make two piles, a “float” pile and a “sink” pile. This is a hands-on lesson in density and the scientific method.'
From the Kitchen to the Workbook: Recording Our Findings
The best part about these experiments is that they’re all about process, observing, predicting, and discovering. And that’s where screen-free learning really shines. When kids get to wonder and talk their way through what they notice, they practice the same kind of thinking you’ll want later, when attention and curiosity have to show up on purpose. If you’re also working on keeping boredom from turning into “I need a screen,” this connects with Why “Boredom” is the Ultimate Screen-Free Teacher.
After the hands-on fun is done, a Whizki workbook is a great next step to practice those scientist skills in a new way. Following a sequence of steps in an experiment is the same skill used to solve a multi-step problem in our skill-building worksheets. The keen eye you need to notice if a celery leaf has changed color is the same one you use for a “Find the Difference” puzzle.
And if you’re trying to build focus before kindergarten, these kitchen moments can be your warm-up. For a simple routine you can start right away, see How to Build a 15-Minute Focus Habit Before Kindergarten. Then, when you’re ready, the hands-on learning workbooks help kids keep the momentum going, without replacing real-world science. Think of them as a screen-free “scientist’s notebook” that fits right alongside the kitchen lab.