
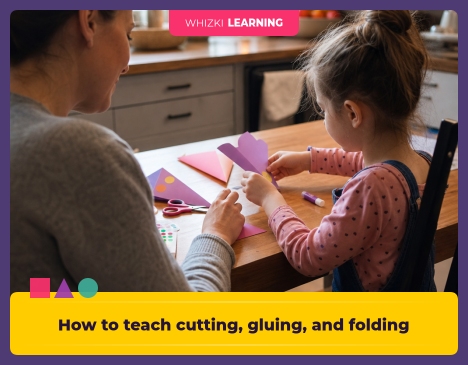
If scissors, glue, and folded paper usually turn your table into a sticky blizzard, start today with one plain sheet, a six-inch cutting strip, and three tiny glue dots. Cutting, gluing, and folding are pre-writing work because the same hands that snip, press, and crease later need to hold a crayon, cross midline, and control pressure. The craft can look simple; the motor practice is the point.
Reviewed by Whizki Editorial Team, Early Childhood Education Editors.
Why the order matters
The cutting-gluing-folding progression works because each action asks a little more from the hands. Cutting asks for open-close hand strength and a helper hand, gluing asks for pressure control, and folding asks both hands to line up edges and make a crease. The order gives young children a clear path instead of a pile of materials.
NAEYC guidance on developmentally appropriate practice fits well here because children ages 3 to 7 learn motor control through short, meaningful routines. A three-minute snipping job inside a real craft often teaches more than a long worksheet battle. The adult job is to set up success, watch the grip, and stop before the hands get tired.
The Orton-Gillingham approach also reminds teachers to move from large, concrete movement toward smaller, more exact movement. Before a child forms a letter on a line, the child can learn top, bottom, left, right, start, stop, press, and release with paper in hand. Those words become useful later during handwriting lessons.
Step one: cutting builds hand strength
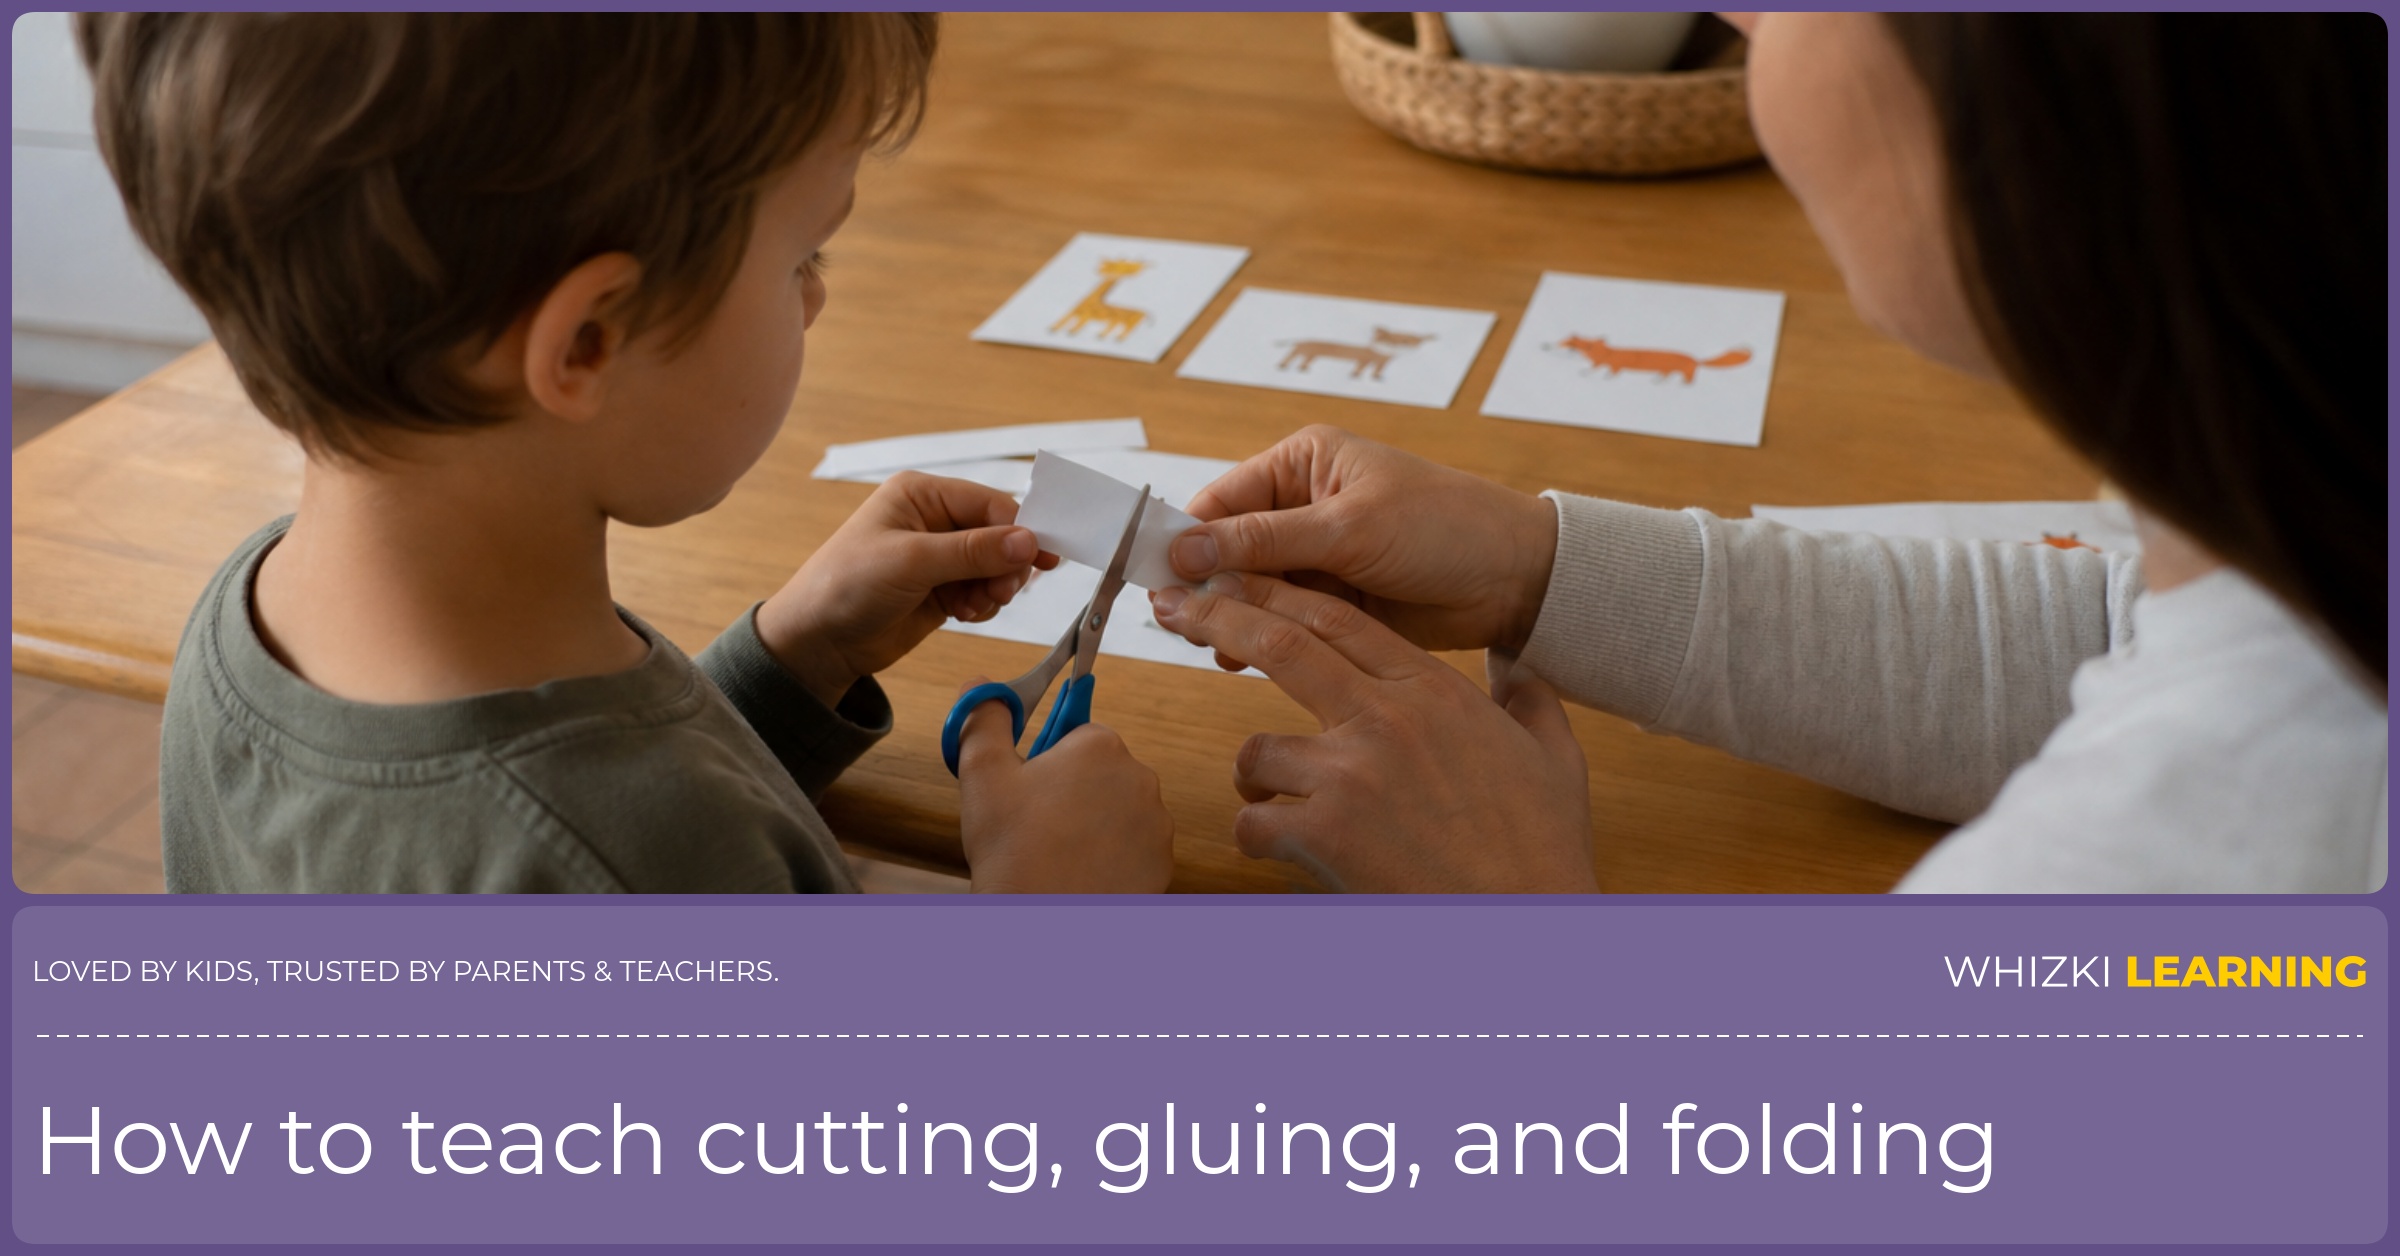
Cutting starts with snips, not fancy shapes. A beginner can cut fringe along the edge of a strip, then cut across a narrow strip, then cut on a thick straight line. The strip should be short enough for success because a whole page can make a preschooler twist the wrist and lose the line.
Occupational-therapy basics give a simple scissors check: thumb up, elbow near the body, helper hand holding the paper, and eyes watching the line. A child who turns the paper instead of the wrist is learning the right habit. A child who chops fast through the air needs a slower strip, fewer cuts, and an adult hand nearby for safety.
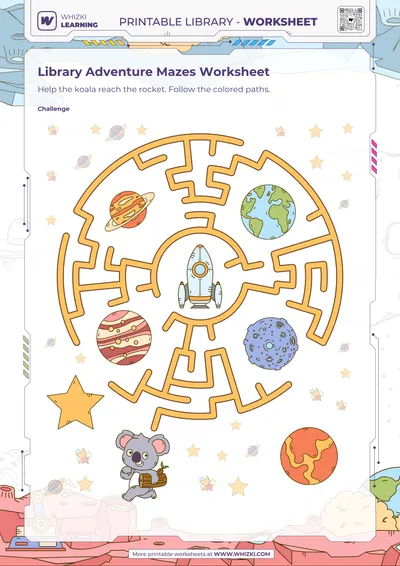
Printable paths help when the child is ready for more than free snipping. I like bold, uncluttered cutting practice worksheets because the page can match the child rather than the other way around. Start with straight paths, move to gentle curves, and save tiny corners for later.
Step two: gluing builds pressure control
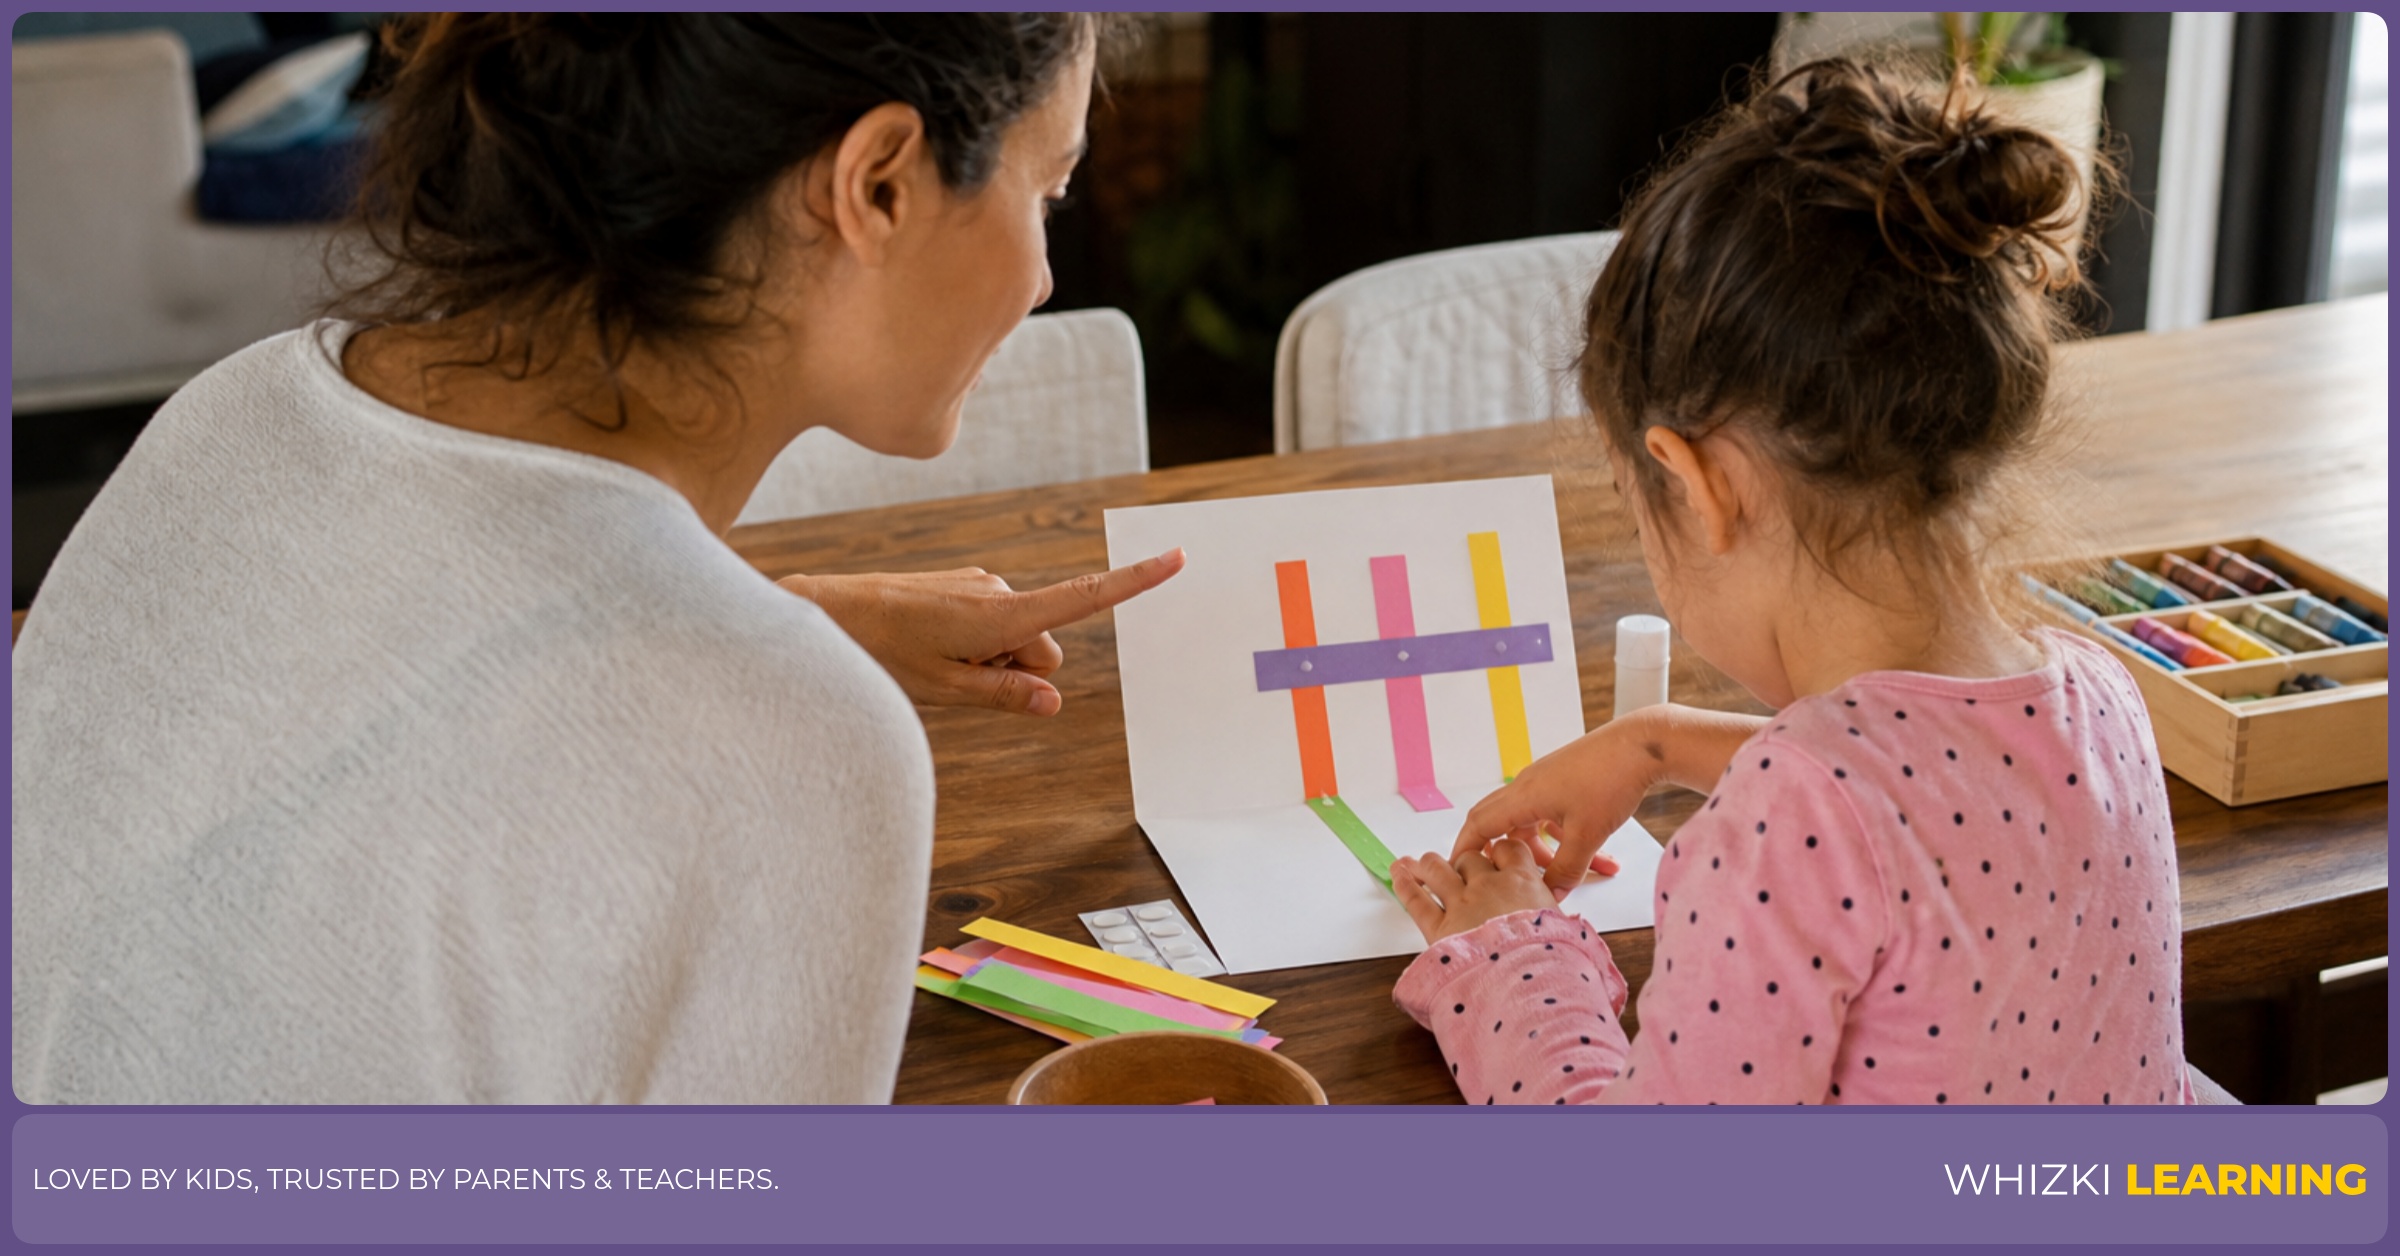
Gluing teaches the hand to use just enough force. A glue bottle asks a child to squeeze, aim, stop, and place the paper before the glue spreads. A glue stick asks a child to rub with steady pressure and notice the edge of the shape.
The glue-dot trick is my favorite classroom fix: the adult draws or says three tiny dots, and the child touches glue only on those dots. The cue can be, dot, dot, dot, then press and count to five. The small rule prevents puddles, saves the project, and teaches the child that pressure can be controlled.
Reggio-inspired classrooms treat materials as teachers, and glue is a very honest material. Too much glue wrinkles the paper, too little glue lets the shape lift, and the child can see the result right away. The adult can say, the paper is telling us a smaller dot will work next time.
Step three: folding builds two-hand coordination
Folding teaches two-hand teamwork. One hand holds the paper still while the other hand brings the edge over, and both hands smooth the crease. The motion is quiet, but the motor planning is big.
Montessori practical-life lessons use slow hands and clear movement, which fits folding beautifully. Show the fold once without talking too much, then let the child try with a half sheet or quarter sheet. A younger child can make a soft fold, while an older kindergartener can line up corners more closely.
Orton-Gillingham handwriting lessons often use direction words and multisensory cues, and folding gives those words a body. Top to bottom, corner to corner, press across, and open again become real actions. Later, the same child can hear start at the top during letter work and understand the direction with less guessing.
The 10-minute one-sheet craft circuit
The one-sheet circuit needs one sheet of plain paper, child-safe scissors, glue, and crayons. Reggio-style planning keeps the setup simple so the child can focus on process, not decoration. Fold the sheet once, open the sheet, and cut along the fold to make two pieces.
Minute 0 to 2 is warmup time, and the child tears or snips one edge into fringe. Minute 2 to 5 is cutting time, and the child cuts one half sheet into two or three strips. Minute 5 to 7 is gluing time, and the child uses the glue-dot trick to attach strips onto the other half sheet.
Print the one-page cut, glue, fold routine card from our printable library and tape the page near the table before starting. The card gives the child a picture cue for snip, dot, press, and crease, so the adult can coach with fewer repeated directions.
Minute 7 to 10 is folding time, and the child folds the finished page like a card, tent, or small book. The adult can add a crayon line for a road, a door, or a name label if the child wants a story. The circuit ends with one proud sentence from the child about the work.
Screen-free practice does not need fancy supplies after the circuit is finished. Clothespins, tongs, envelopes, stickers, and scrap paper can keep the same muscles working, and these fine motor games from household items are helpful on days when a full craft feels like too much. The best follow-up is short, repeatable, and easy to clean up.
How to know when to move on
Readiness looks like calmer control, not perfect crafts. A child is ready for harder cutting when the helper hand turns the paper and the scissors stay mostly thumb-up. A child is ready for smaller glue spots when the paper no longer swims in glue.
An occupational-therapy rule I use in class is to watch effort more than speed. White knuckles, raised shoulders, or repeated dropping of scissors can mean the task is too hard for today. The adult can return to tearing paper, pinching stickers, or cutting shorter strips.
NAEYC observation habits help adults avoid turning practice into pressure. Write down what the child can do, offer the next small challenge, and keep the tone practical. Ask a pediatrician or occupational therapist for guidance if the child avoids all hand tasks, seems in pain, or cannot improve with gentle practice over time.
The cutting-gluing-folding progression is small enough for a weekday table and useful enough for real handwriting later. Put scissors, glue, and paper in a basket, choose one short routine, and repeat the same order for a week. The child gets steadier hands, and the adult gets a calmer plan.