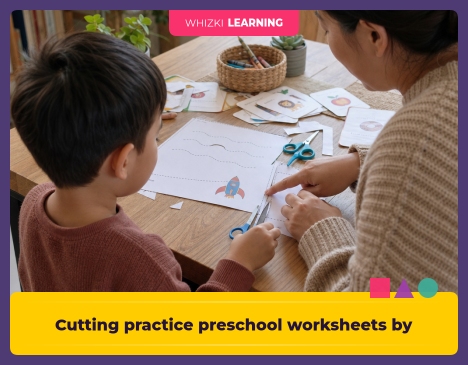
If cutting practice at the table keeps turning into torn paper, dropped scissors, and a child saying I can’t, start with one short straight-line printable and stop before frustration takes over. Cutting is a real preschool skill, not a craft extra, because small hands have to coordinate helper hand, scissor hand, eyes, and posture. A calm five-minute round with the right worksheet usually teaches more than a long stack of pages.
Reviewed by Whizki Editorial Team, Early Childhood Education Editors.
How to use cutting practice preschool worksheets
Cutting practice preschool worksheets work best when the printable matches the child’s current hand control. NAEYC guidance reminds teachers to offer materials that fit the child’s developmental level, so a child who is still learning to open and close scissors needs snips before shapes. The adult can place one page, one safe pair of scissors, and one scrap bin on the table.
The scissor grip is the first thing to watch before any worksheet line matters. An occupational therapy rule of thumb is "thumbs up," with the thumb in the small loop, fingers in the larger loop, and the wrist in a neutral position. The helper hand should turn the paper while the scissor hand opens and closes.
The worksheet routine should feel slow enough for success. For background on the hand strength and finger control behind scissor use, I often point families to the pre-writing skills guide before choosing pages. A child who crushes crayons, avoids play dough, or tires fast may need more tearing, squeezing, and tong play before longer cutting lines.
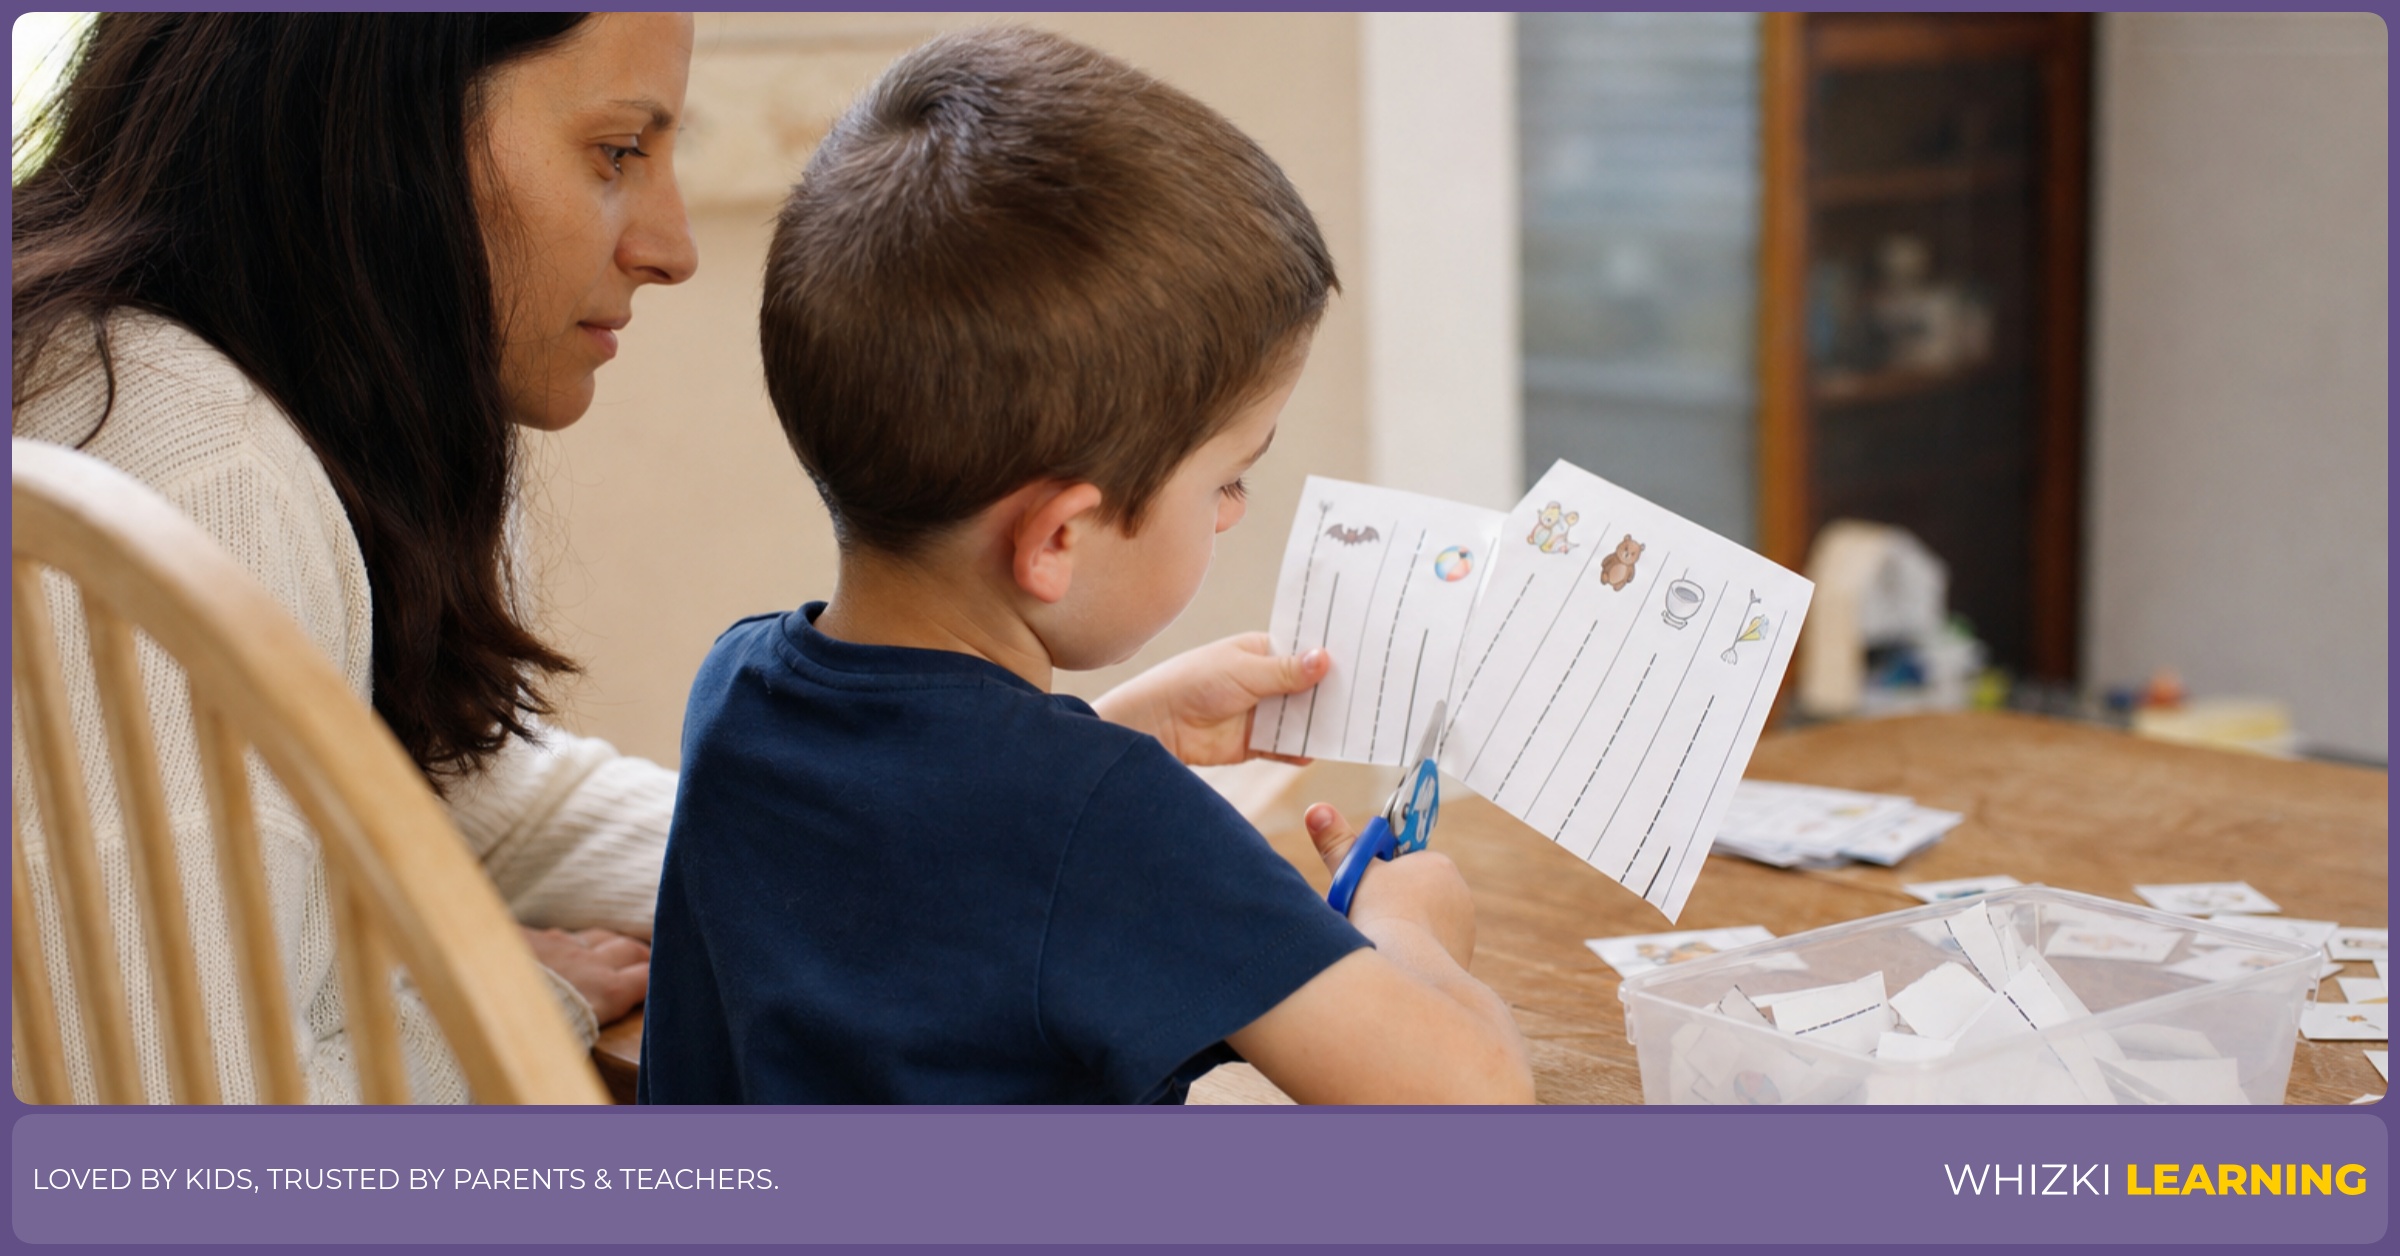
Stage 1: straight lines
Straight-line worksheets are the first real page for most young cutters because the target stays predictable. The Orton-Gillingham approach uses small, ordered steps for literacy, and the same teaching rhythm works for motor learning: one clear goal, repeated in a kind way, with quick feedback. Watch for the child closing the scissors all the way instead of chewing the page with tiny half-snips.
The straight-line printable should begin with thick paths and short distances. The adult can mark the starting edge with a dot and say, "Open, close, pause," while the helper hand moves the paper forward. If the child cuts beside the line but keeps moving forward, the worksheet is still doing useful work.
The printable roundup in our printable library is a good place to pull one or two straight-line pages instead of a whole packet. Short practice protects attention, and short practice also keeps the adult from turning every wobble into a correction. For children ages 3 to 4, a strip page may be enough for the whole sitting.
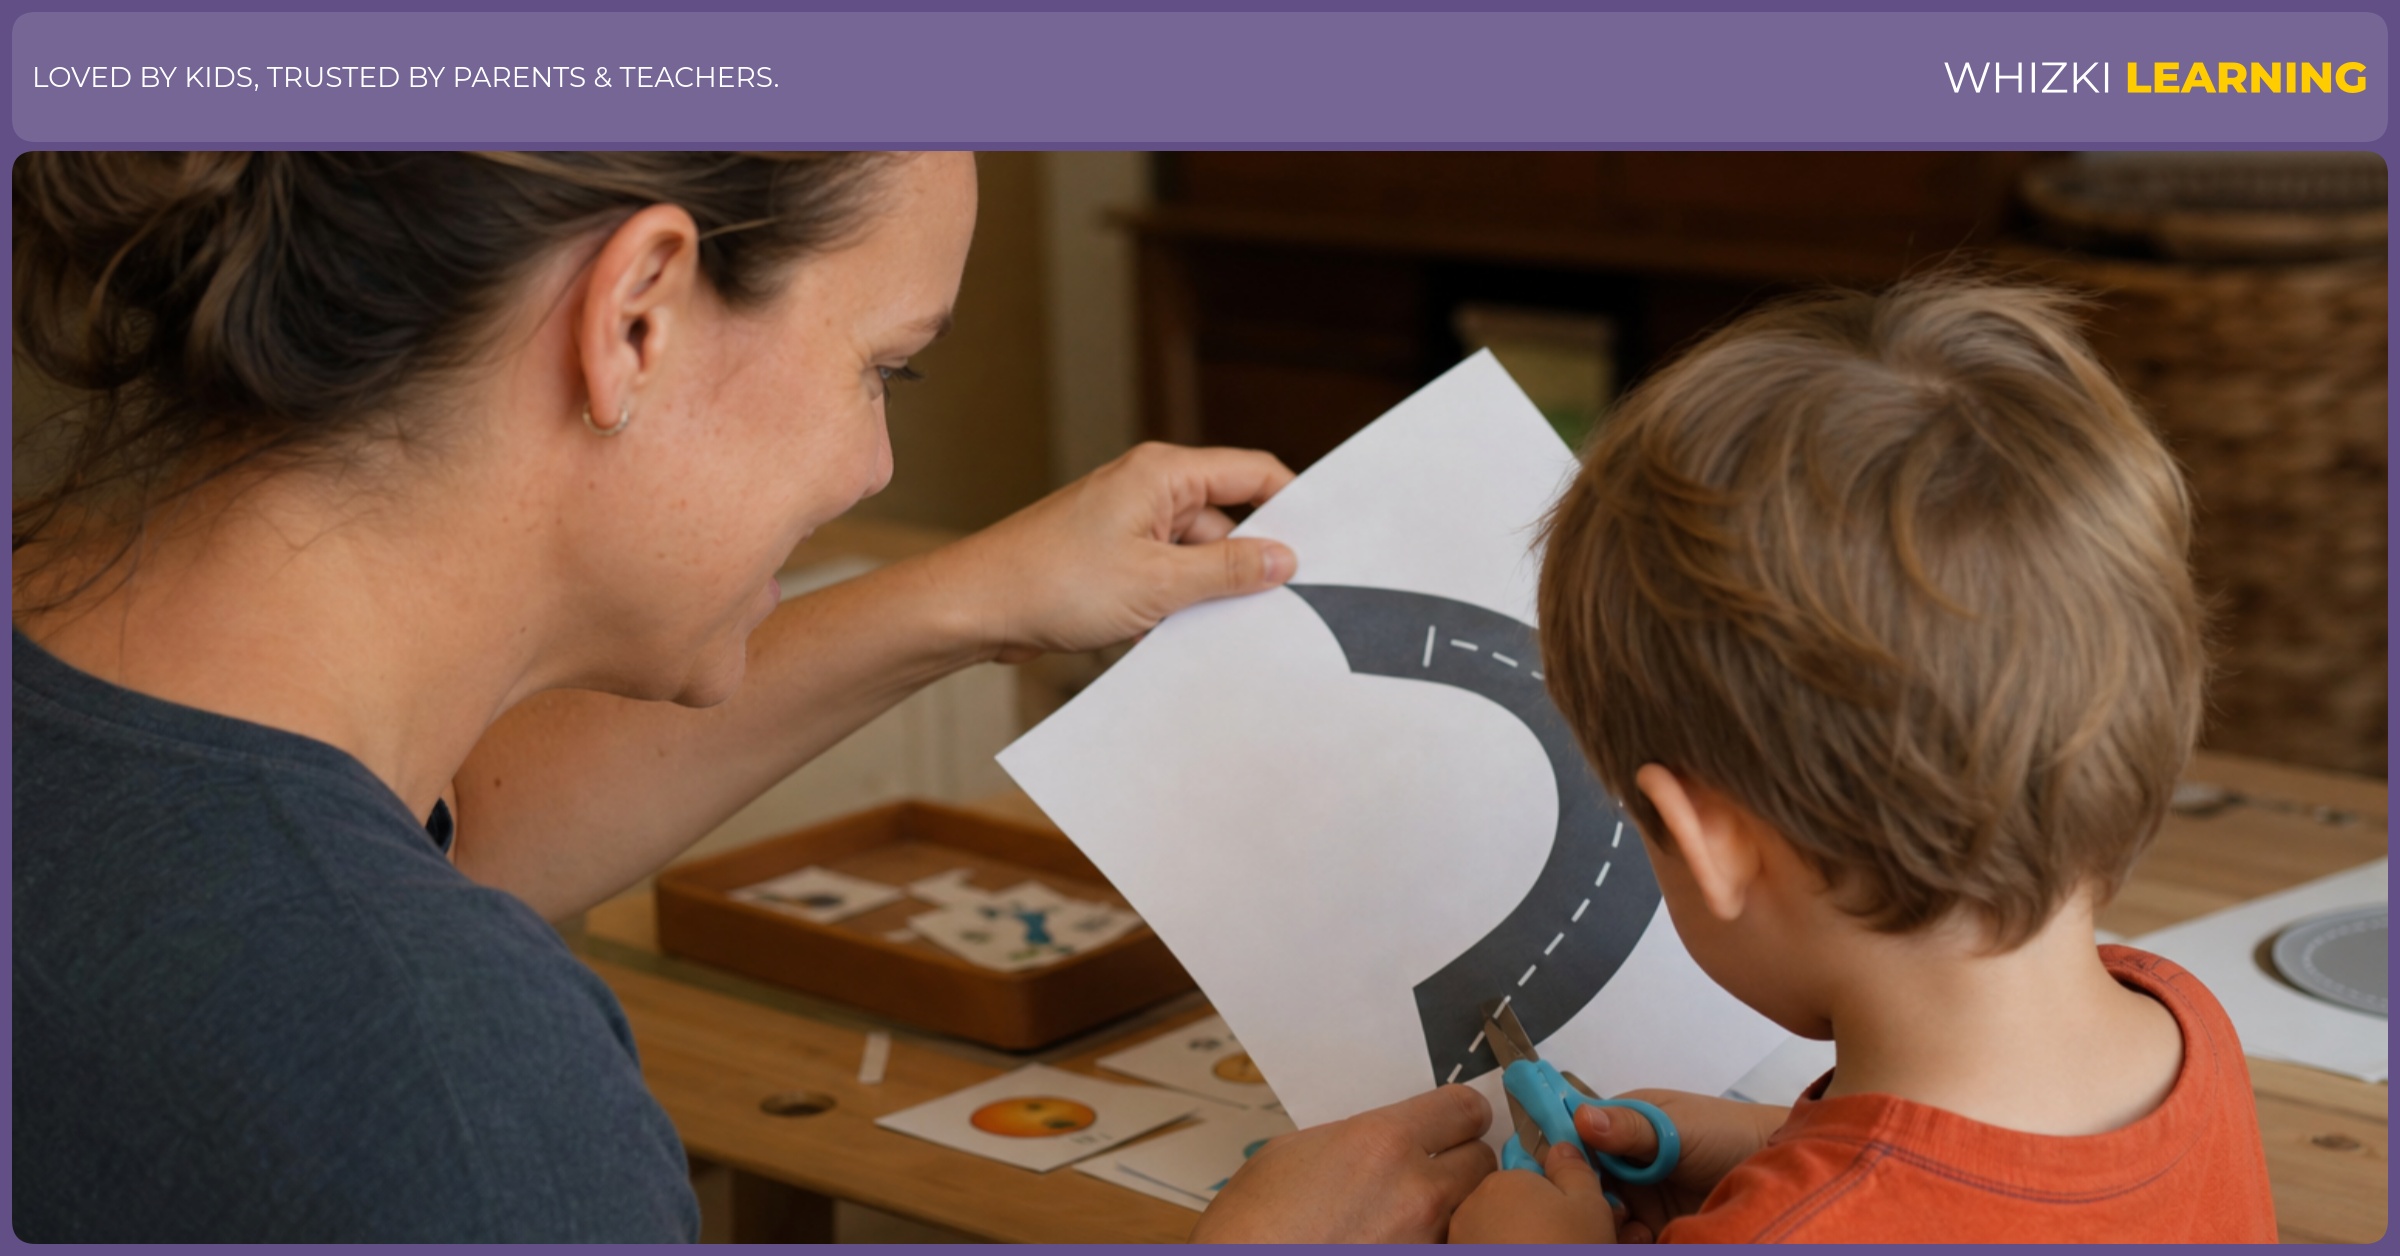
Stage 2: curves
Curve worksheets ask the helper hand to do more of the job because the paper has to rotate under the scissors. Montessori fine-motor work often isolates one movement at a time, and curved paths are the place to isolate paper turning. Watch for the elbow lifting high, the wrist bending inward, or the child trying to steer only with the scissor hand.
The curve printable should start with gentle roads, rainbows, or large waves before tight circles. The adult can sit beside the child, point to the next small section of the curve, and remind the helper hand to turn the page like a steering wheel. A child who cuts corners across the curve may need a wider path, not a lecture.
The premium Scissor Skills Printable Set in our worksheet sets groups snipping strips, straight lines, curves, zigzags, and first shapes in a teacher-friendly order. The complete pack lives in Plus.
Stage 3: zigzags
Zigzag worksheets build quick stop-and-turn control, which is why zigzags should come after straight lines and curves. In Reggio-inspired observation, the adult watches the child’s plan before correcting the product, and zigzags give plenty of information about planning. Watch for the child overshooting corners, turning the scissors sideways, or rushing because the pattern feels like a race.
The zigzag printable should have broad mountain paths before small teeth or lightning shapes. The adult can cue "cut to the corner, stop, turn the paper," and the child can practice resetting both hands at each point. A shaky corner is normal when the child is learning to stop motion on purpose.
The printed page should still look playful, not crowded with narrow hazards. Families who prefer ready-to-hold pages can browse our printed workbooks when printer time is limited. A preschool or kindergarten teacher can also laminate one zigzag path for repeated tracing with a finger before cutting a fresh copy.
Stage 4: simple shapes
Simple-shape worksheets combine the earlier skills into one task: straight edges, curves, corners, and paper rotation. Occupational therapy practice often looks at graded challenge, and shapes are a graded challenge when the circle, square, triangle, and oval appear in a sensible order. Watch for the helper hand freezing, because a still helper hand makes every shape harder.
The shape printable should start large, with bold outlines and plenty of white space around each picture. The adult can cut one sample shape slowly and name the hand jobs: scissor hand opens and closes, helper hand turns, eyes watch the line. A child who cuts into the picture can try a larger version before repeating the same small shape.
The simple-shape stage is also a good moment to add purpose. The child can cut a square for a pretend envelope, a circle for a paper cookie, or a triangle for a roof in a collage. Reggio practice values meaningful materials, so a shape page becomes stronger when the child uses the cut pieces in play.
Cutting practice grows best when the adult chooses the next smallest challenge, not the fanciest worksheet. Straight lines, curves, zigzags, and simple shapes give children ages 3 to 7 a clear path from first snips to usable craft skills. A calm table, safe scissors, and one good printable can make the whole lesson feel doable.