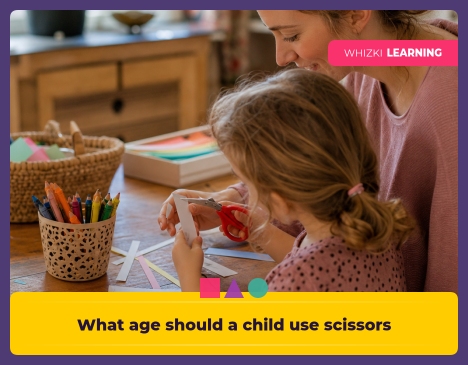
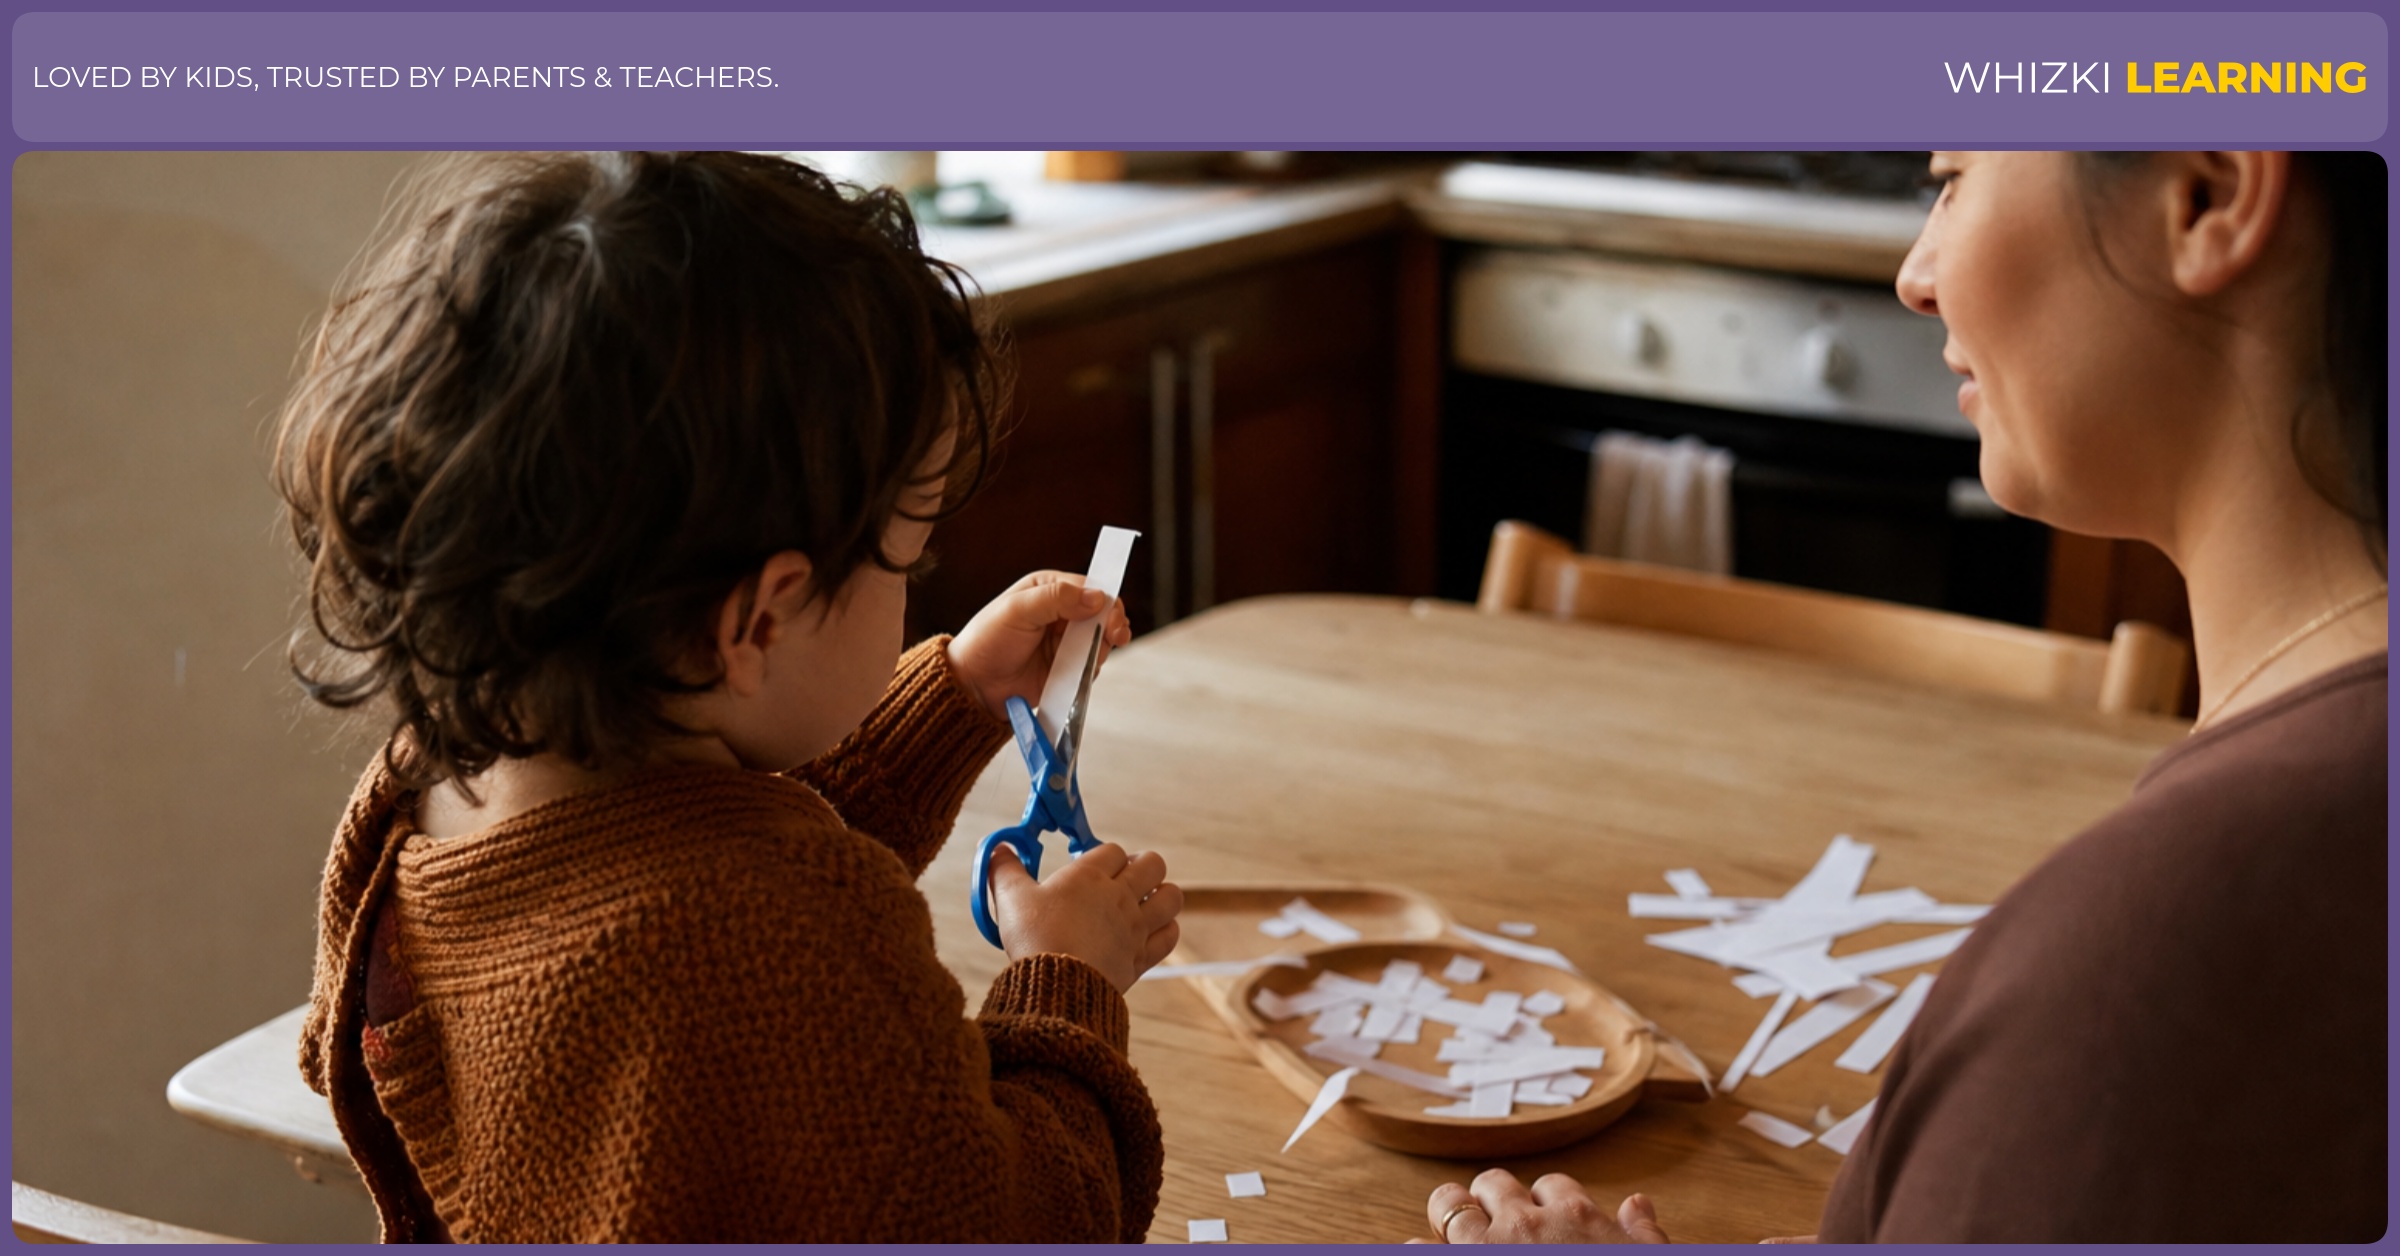
Scissors can feel like the activity that turns one distracted second into confetti, so start with supervised snips at age 2 to 3, short lines around 4, and simple shapes around 5 to 6. Today, hand your child safety scissors and a narrow paper strip, then stop while the mood is still good. Most children need many small tries before scissor work looks tidy, and messy scraps are part of the learning.
Reviewed by Emily Chen, MA, OTR/L, Pediatric Occupational Therapist.
A realistic scissor age timeline
The age range for scissors is wider than many parents expect. The NAEYC guideline I lean on in preschool is developmentally appropriate practice, which means the task should match the child in front of us, not a chart on the wall. The goal is safe participation before neat results.
A 2- or 3-year-old is usually ready for snipping, which means one open-and-close motion into the edge of paper. The scissor path does not need to follow a line yet. The hand is learning pressure, opening, closing, and where paper belongs.
A 4-year-old often begins cutting along short, thick lines. The line should be wide, dark, and short enough that success comes before fatigue. The adult can turn the paper while the child focuses on opening and closing the scissors.
A 5- or 6-year-old is often ready for circles, squares, simple pictures, and gentle curves. The shape should be large at first because small corners ask for more wrist control. The Orton-Gillingham habit of moving from simple to complex fits scissor work nicely, because the child practices one small demand before adding another.
Safety scissors and the grip progression
Safety scissors should have blunt tips, a comfortable handle, and blades that cut paper without forcing the child to squeeze hard. The blades still need adult supervision because dull tools can lead to awkward force and frustration. The rule in my classroom is simple: scissors cut paper at the table, and scissors rest closed when a child is not cutting.
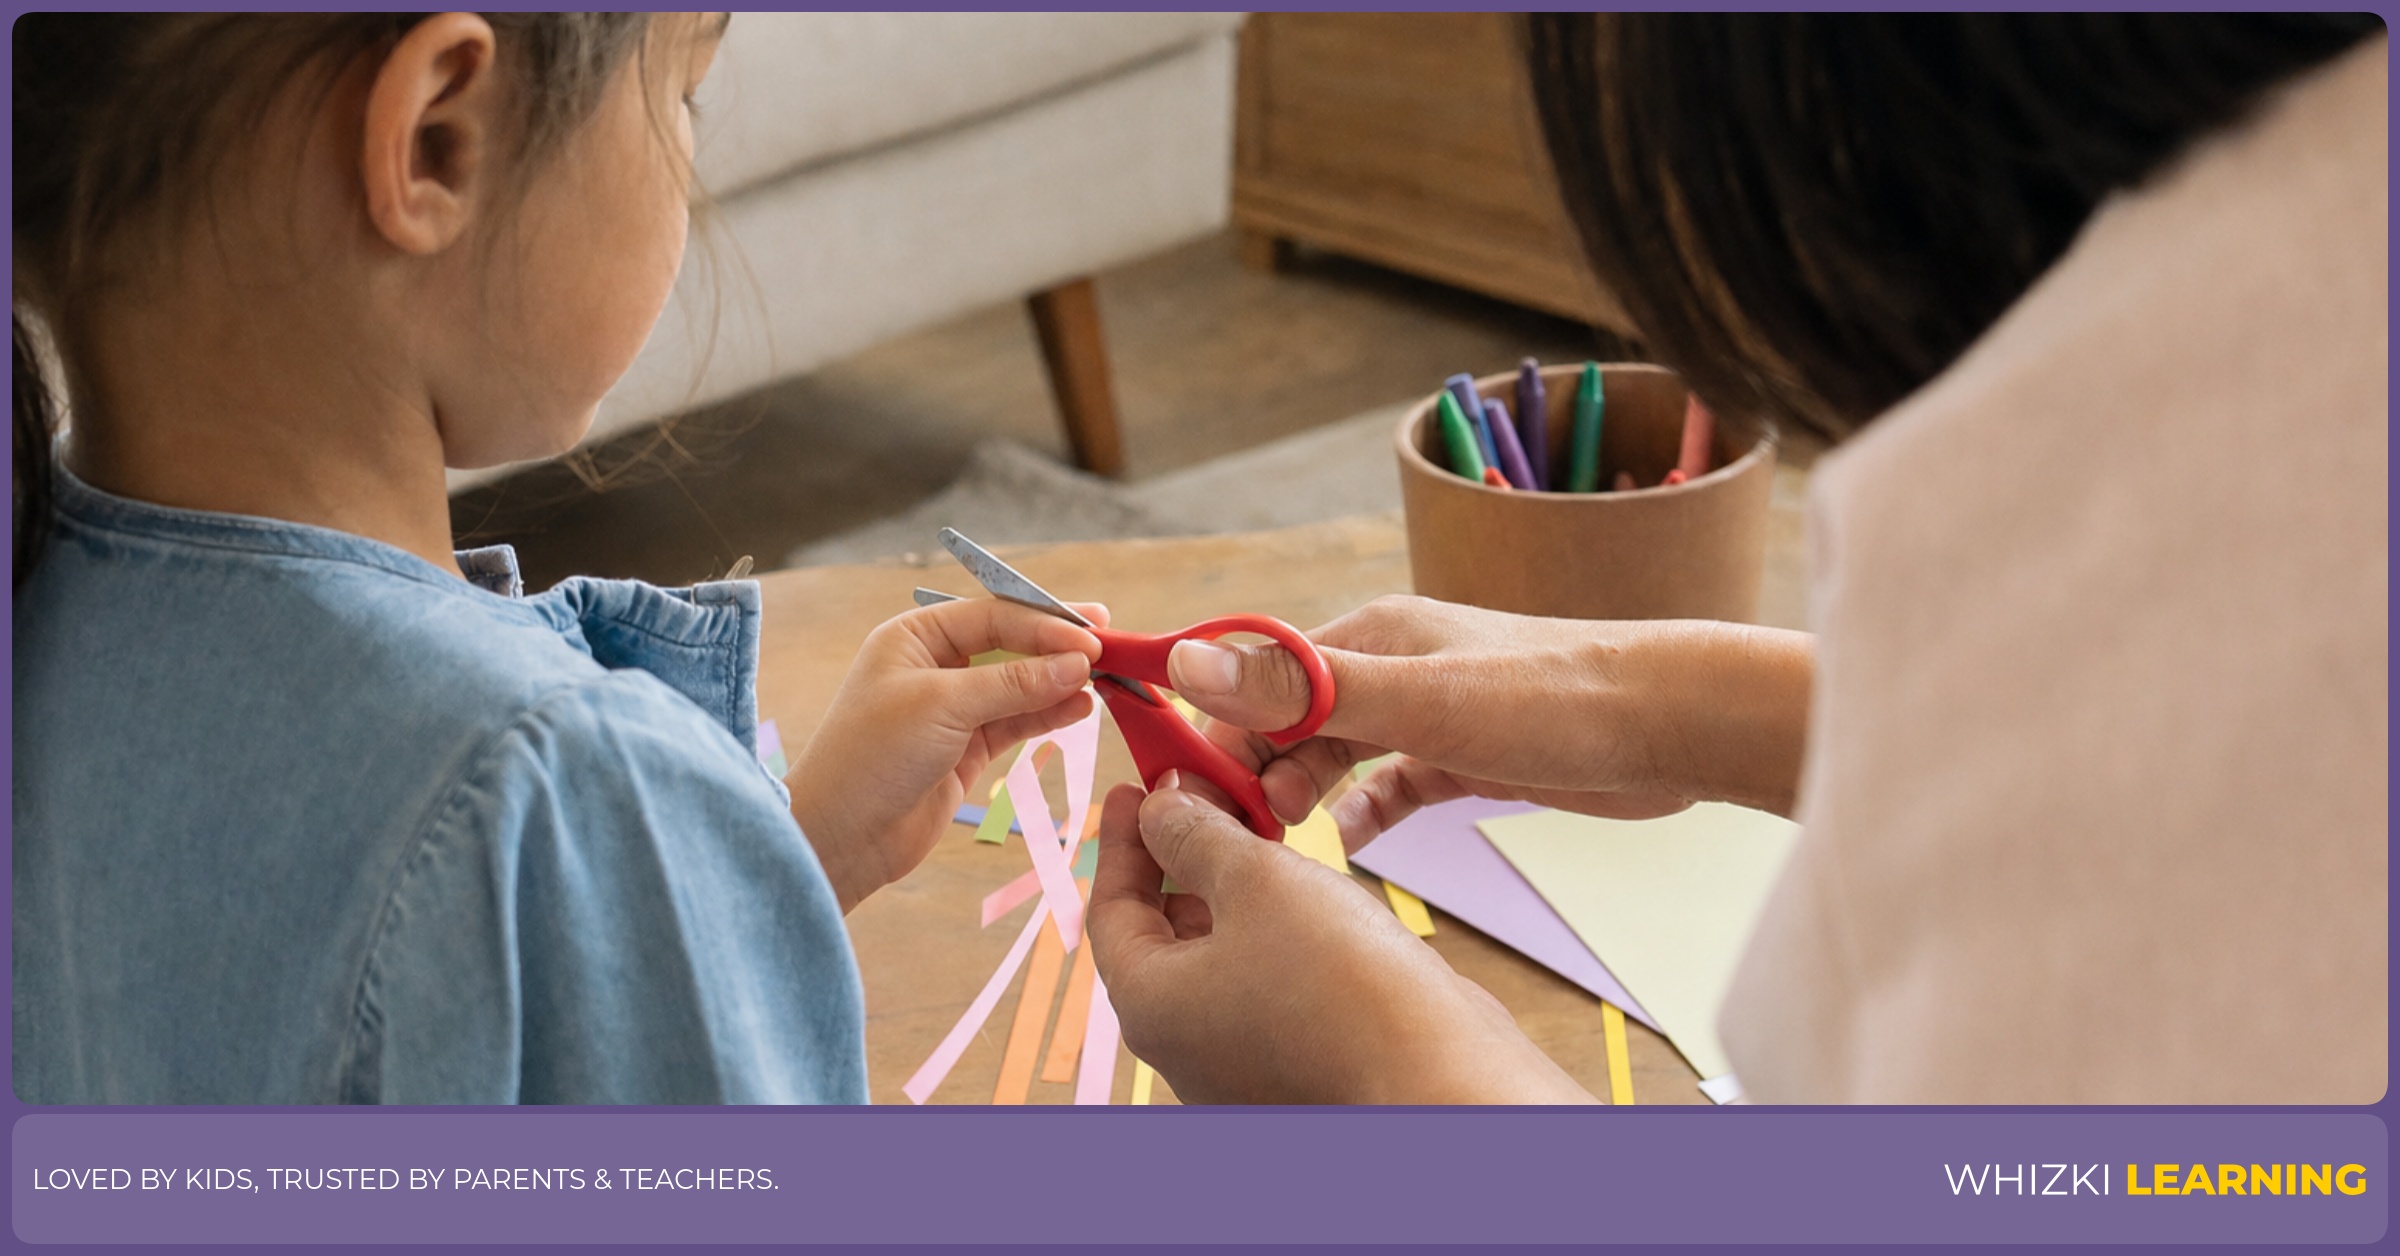
The usual grip progression starts with two hands helping, then one hand cutting while the other hand holds paper, then one hand cutting while the helper hand turns paper. The thumb belongs in the small loop, pointing up like a tiny flag. A child who flips the wrist downward may need a sticker on the thumb nail as a visual reminder.
A left-handed child should be offered left-handed scissors when available, because the blade angle affects the child’s view of the line. A tabletop, not a lap, gives the shoulders and elbows better support. A household warm-up from fine motor games with household items can help small hands get ready before scissors come out.
Two no-tears starter activities
The first no-tears activity is fringe cutting. The adult draws a row of short marks along the edge of a paper strip, and the child makes one snip on each mark. The child gets repeated success without needing to steer around a corner, which matches the Reggio idea of observing the child’s current skill and setting up the environment for the next small step.
The second no-tears activity is straw or play-dough tube snipping. The child cuts a soft straw, a rolled play-dough rope, or a folded scrap into tiny pieces over a tray. The occupational-therapy idea behind the activity is graded resistance, because the hand feels a little feedback without the long visual demand of a worksheet.
A printable page can be helpful when the child is ready for a picture-based target. For children around 4 and up, choose one bold line page from our worksheet sets and cut only the easiest part. The worksheet should end before the hand looks tired, even when the page is not finished.
A five-minute session is plenty for many 3- to 7-year-olds. The adult can say, “Scissors are working hard today,” and put the tool away while the child still feels proud. The Montessori practice of returning materials to a clear place also helps scissors feel like a trusted tool rather than a tempting toy.
For a calm paper source, Whizki Learning keeps scissor-friendly pages in our printable library, so families can choose simple strips, picture pages, and early tracing without hunting during a busy afternoon. Print one page, offer one small task, and put the rest away before paper practice feels too big.
When to pause or get help
A child who refuses scissors may be saying that the task feels too hard, too long, or too public. Occupational therapy practice often looks at posture, hand strength, sensory comfort, and tool fit before labeling a skill as a behavior problem. The adult can pause, return to tearing paper or tongs, and try again another day.
A child who uses two hands on the scissors, holds the wrist upside down, or cannot open the blades after many short tries may need more hand play before cutting. A teacher can watch whether the child also struggles with crayons, buttons, beads, or fork use. The NAEYC lens reminds adults to compare a child with the child’s own growth over time, not with the fastest cutter at the table.
A professional check is wise when pain, strong hand avoidance, very low endurance, or sudden loss of skill shows up. A pediatric occupational therapist can look at grip, shoulder stability, hand preference, and tool options in a practical way. The goal is not perfect cutting, but a child who can join art, school, and home projects with confidence.
Scissor practice grows best in tiny, supervised moments, with safety first and neat edges later. If kitchen-table learning is your season right now, I would be glad to send one calm, doable idea in the weekly Whizki newsletter.